

In this article, let’s explore how to install the Realtek High Definition Audio Driver. We’ll also cover how to update it on Windows 10 or Windows 11 PCs.
For better Audio experience you should install or update to latest version of Audio driver for your computer audio chipset.
First, let’s see How to check the current version of Realtek audio driver?
For that, Right Click on ‘This PC’. And Click on ‘Manage’.

This will open Computer Management Window.

Here Click on ‘Device Manager’.

Here Click & Expand ‘Sound, video & game controllers’.

Right Click on ‘Realtek High Definition Audio’. And Click on ‘Properties’.

This will open ‘Realtek High Definition Audio Properties’ window.

Under ‘Driver’ tab, You can find driver details like: ‘Driver Provider, Driver Date, Driver Version, etc..

Now, Let’s see How to download & install latest version of Realtek High Definition Audio Driver?
For that, Just open web browser. And search for ‘Realtek’.
Click & open Realtek Website, Link Here.

Here Click on the Menu icon on the left top corner.

Click on ‘Download’. And Click on ‘Computer Peripheral ICs’.

It will list all Computer peripheral ICs.
Here choose Sub-Category as ‘PC Audio Codecs‘.

Here choose Sub-Category as ‘High Definition Audio Codecs‘.

Here look for latest version from the list. And on the ‘Software’ to download the driver.

It will list all the Audio drivers here as per the OS & System type.
You can find all the file types here 32 bit or 64 bit.

In this case, it’s 64 bit OS. So Click on ’64 bit’.

Then Click Accept the Agreement & Click on ‘Download this file’.

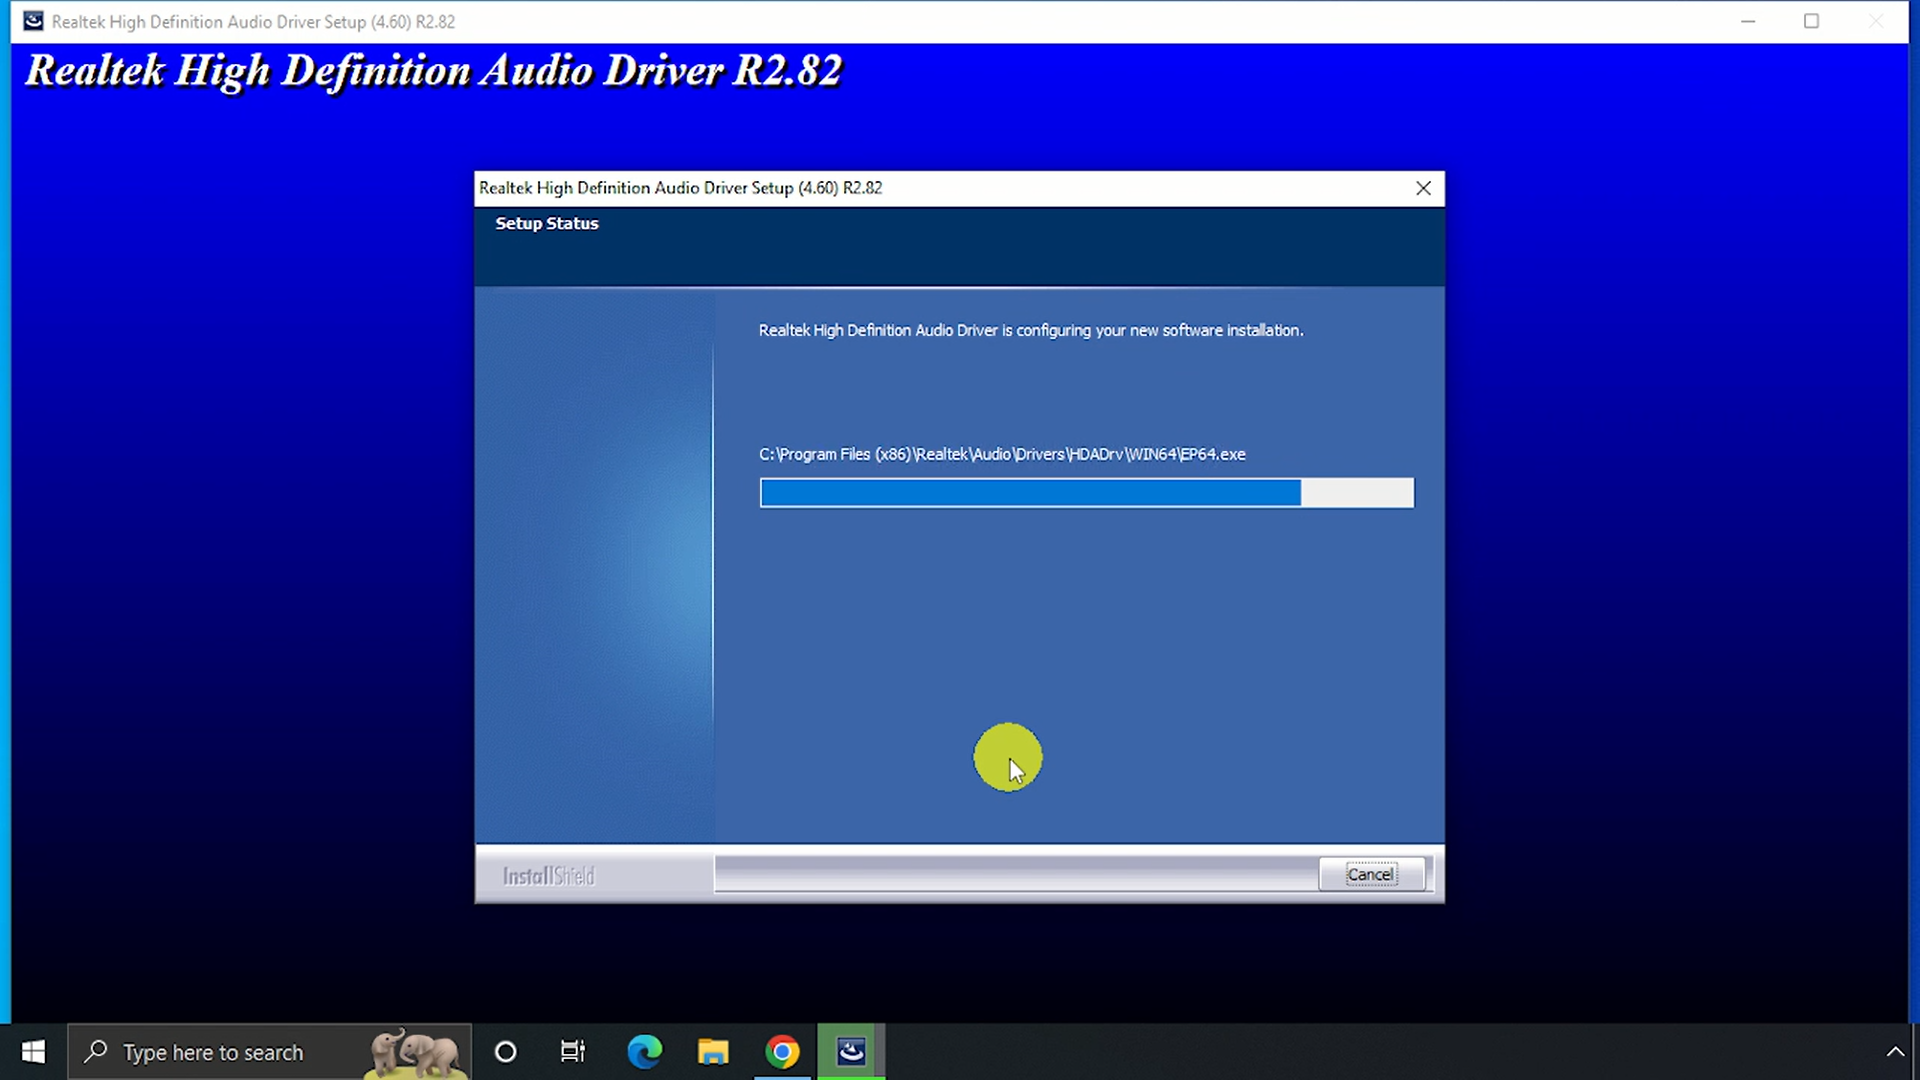
Once download completed, Install it on your Windows 10 or 11 PC.


Once installation completed, Try restart your PC.
