

In this article, let me show you,
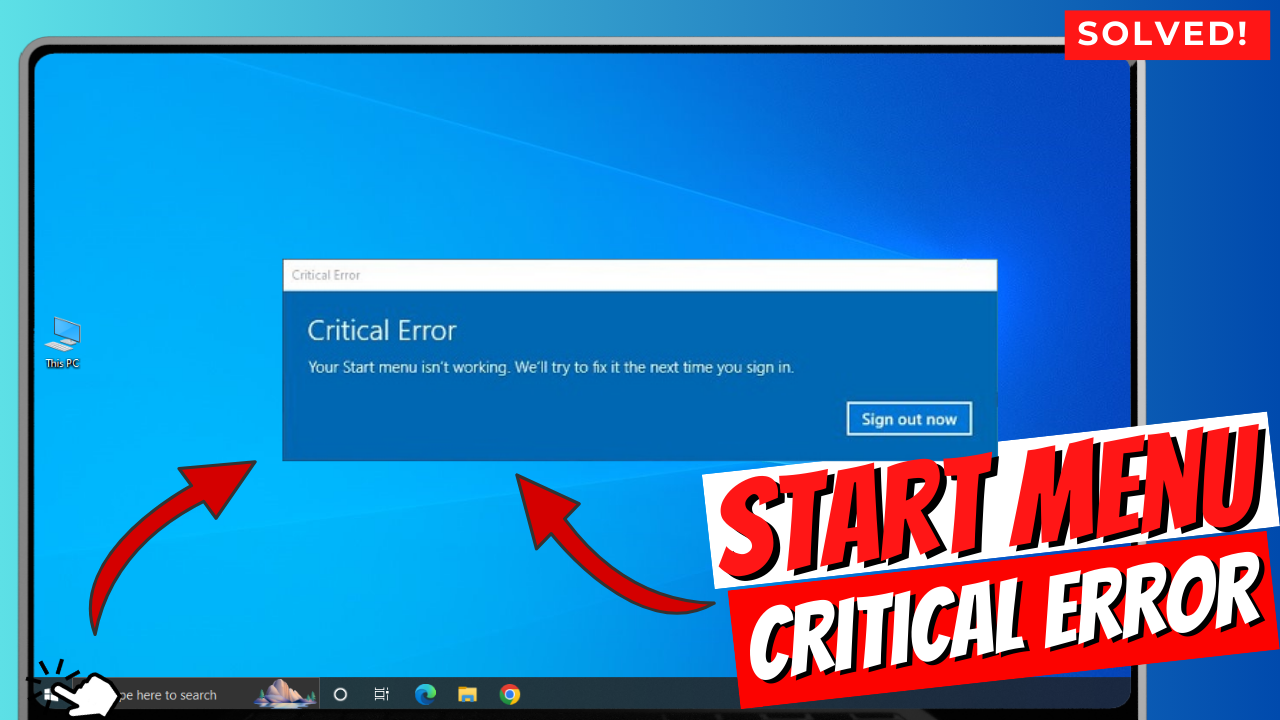
How to fix Start Menu critical error on your Windows 10 or Windows 11 PC’s?
There are many ways to fix this error.
Method 1: Uninstall Windows Updates
For that, Just Open This PC
Click and Open ‘Computer’ on the left of the top bar.

Then click on ‘Open Settings’

Then click on ‘Updates & Security’

It will open Windows Update Page
Then click ‘View update history’

It will open View update history page.
Then click on ‘Uninstall updates’

It will list all the earlier installed updates.
From the list, you have to choose recently installed updates and uninstall it from your system

For Example, If you are facing this today, Then just select any of the updates from yesterday and uninstall it.
After that, just try to restart your system once, Then check whether the issue resolved or not.
If not, continue with next step.
Method 2: Restore System to an earlier restore point
For that, Right Click on ‘This PC’
Then Click on ‘Properties’

Then Click ‘System Protection’

It will open System properties window
Then under ‘System protection’ – ‘System protection’ – Click on ‘System Restore’

It will open System restore window
Then select ‘Choose different restore point’ – click on ‘Next’

It will list the System Restore point earlier created.
If you want see more System Restore points, Then tick on the ‘Show more restore points’
It will list all the System Restore points earlier created

Then you have to choose the recent System Restore point from the list.
Then click on Next.

Finally it will ask for confirmation.
So, Your computer will be restored to the state it was before the event.
Then click on ‘Finish’

Now your system will restore to previous state which you selected from the Restore list.
After that computer will restart automatically to previous state.